Joe’s work apron is about 10 years old. It is fraying around the edges. He has sewn the side ties back on the apron several times over the years.

I have purchased a couple aprons for him and he doesn’t like any of them. His old apron is the one he likes. The others just don’t work for him. So…I had a talk with him and asked what he would like to have in an apron and he told me. One that he could adjust the neck strap on when he has to wear it outside of a heavy coat, sturdier ties, and maybe even a bit longer when he has to wear the bulky coat.
I took some measurements from his old apron and did some imagining of my own. The dimensions and “pattern” I made for my frame of reference.

I then went into my craft room, made a complete mess by pulling out my cutting mat from beneath several piles of paper. Hunted through my sewing equipment stash to find the rotary cutter. Pulled out drawers and rummaged through bins looking for my French Curve. Further searching through my small bins with little clear plastic drawers were pawed through until I found my chalk pencil and measuring tape. For good measure I checked all the door knobs in my craft room for the yard stick hanging from one of them. This yard stick is not straight, it has a bow in it but it will come in handy.
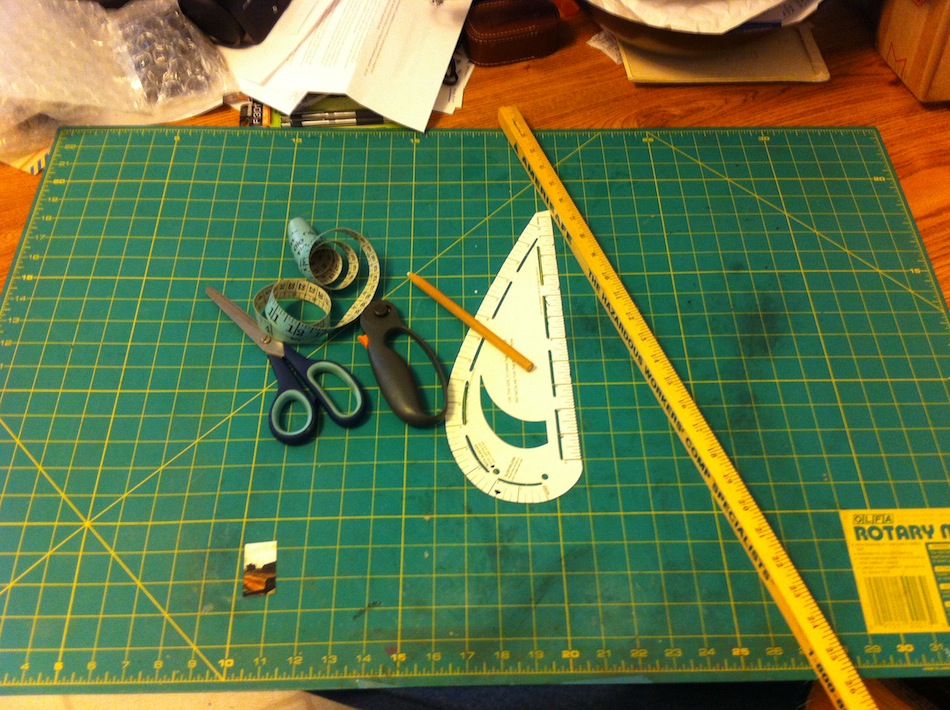
Don’t mind the bit of photo on the cutting mat. That puppy is stuck there with adhesive that I use in my paper crafting. Fun times here in my crazy house.
Oh, and I had to hunt through my sewing bins to find my fabric scissors I keep hidden from myself so I don’t use them on paper.
I will be making straps for Joe’s apron which will involve sewing a long and narrow length of fabric together then turning it right side out. I stole this bit of metal rod from Joe a long time ago. I have no idea what it is made of but I think it is 1/4″ in diameter.

If you choose to make an apron using my pattern you may want to mark on the fabric the top and bottom of the body piece of the apron. I had a crazy time figuring out which way the crazy thing went.
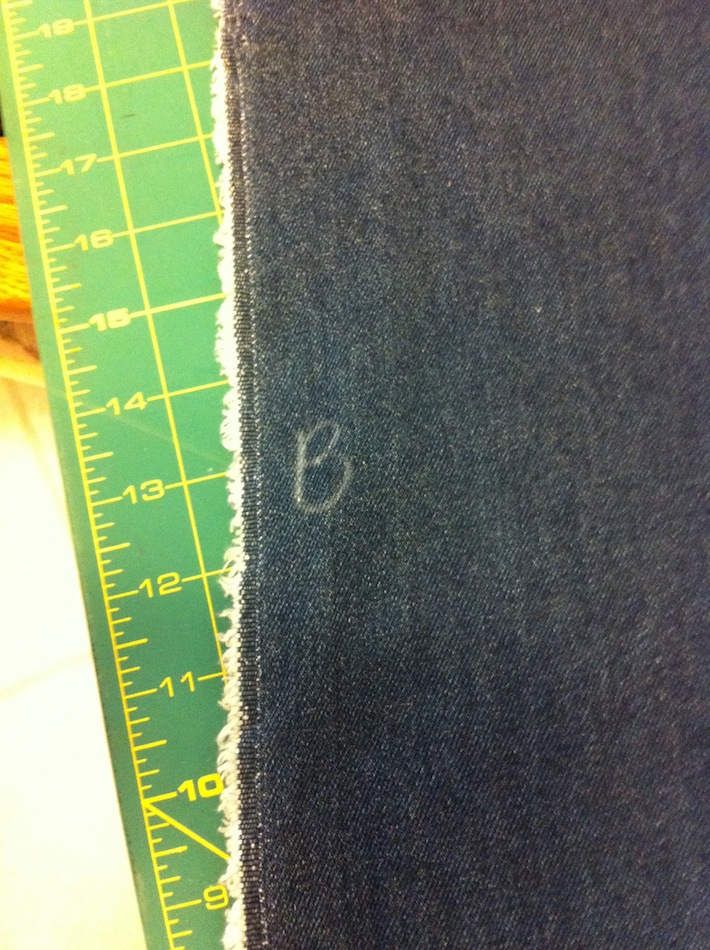
“B” for BOTTOM of apron body fabric piece.
“T” for TOP of apron body piece.
Now I know which end is UP 😀
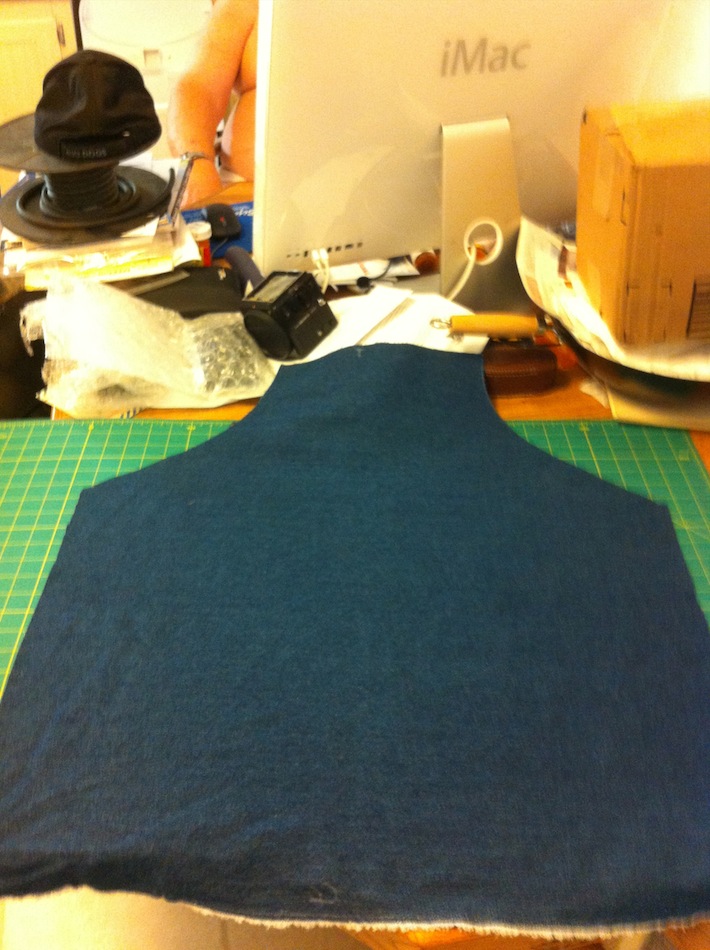
To cut the arm area of the apron top I referred to my pattern. The “BIB” part measures 11 inches wide by 10 inches long. I folded the body in half and marked the placement of the 10 inch mark using my chalk pencil. Then measuring from the fold to the right at 5-1/2 inches I made another chalk mark. These marks would be the starting point and ending point for the BIB.

Placing the French Curve at my two chalk marks I would have the correct curve for the Bib.

Place the French Curve as close to the bottom chalk mark as I could.
Placing the top of the curve nearest the mark as I was able.

Using my chalk pencil I drew along the French Curve for my cutting line reference.

Cut through both pieces of fabric at once to ensure both sides will be the same.

There, nice and clean and even 😀
The strap pieces were cut to 37 inches long by 2-1/4 inches wide. I was shooting for 1 inch wide straps. I ended up with 3/4 inch wide straps ![]() when they were finally sewn.
when they were finally sewn.
Sew the strap material with right sides together.

Trim away the excess fabric. This will make turning it right side out easier – less bulky

Open the sewn end just a bit. Don’t take out the stitching, just separate the two pieces of fabric. You have to start the “tunnel”.


Work the metal rod into the fabric by pushing the rod through. The fabric will gather at your fingers as you do this.

Use your left hand to hold the metal rod in place as you use your right hand to pull and smooth the fabric outward.

Keep going until the fabric covered metal rod comes out of the tunnel.

Pull on the end coming out of the tunnel with your right hand and pull the “tunnel” fabric with your left. The strap will be turned right side to when you have completed this.

The metal rod is now inside the tunnel. Oh NO! How do I get it out?!!!!

Just lower the open end to the floor and hold the sewn end upward. The metal rod will come out all by itself.

Now repeat these steps until you have all your straps created.
Sew along the outer edges of the strap to add stability to the “tunnel” and make the strap look better. This will also keep the strap from twisting around on itself over time.

I used my serger….something that has not seen the light of day in nearly 17 years….over all the outer edges of the apron and inside the top of the pocket. This step will keep the denim from fraying and tearing.

I used the serger on the inside top of the pocket. Joe will be going in and out of the pockets. Wait. That’s not right. Joe won’t be going in the pocket. His HANDS will be going in and out of the pockets. This will keep the denim from fraying.

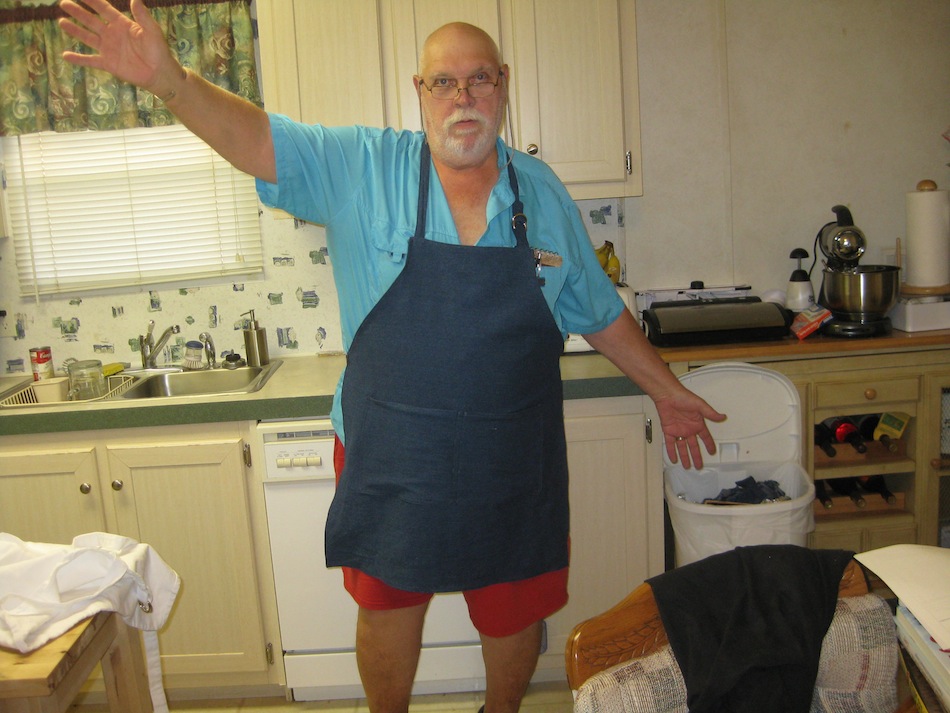
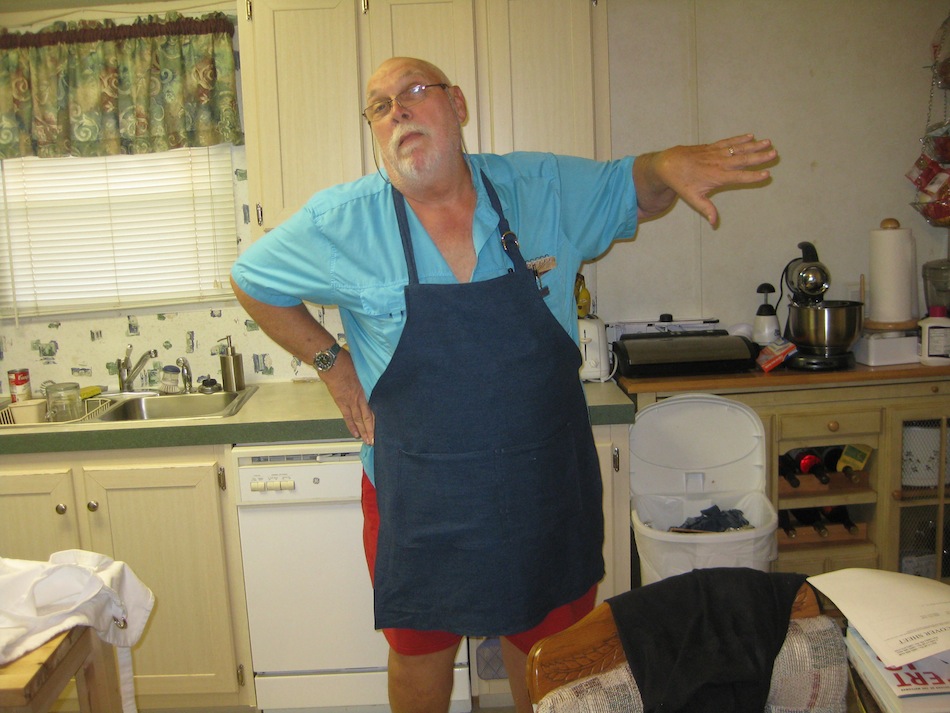
All that is left is a “Fashion Show” 😀 Turn a little music on…


Sometimes life interrupts goals. Make time in your schedule to do something that needs to get done. There will never be enough time to do everything. Pick your battles.
Leslie
